
TOP TIPS FOR TRAVELING WITH YOUR BIKE
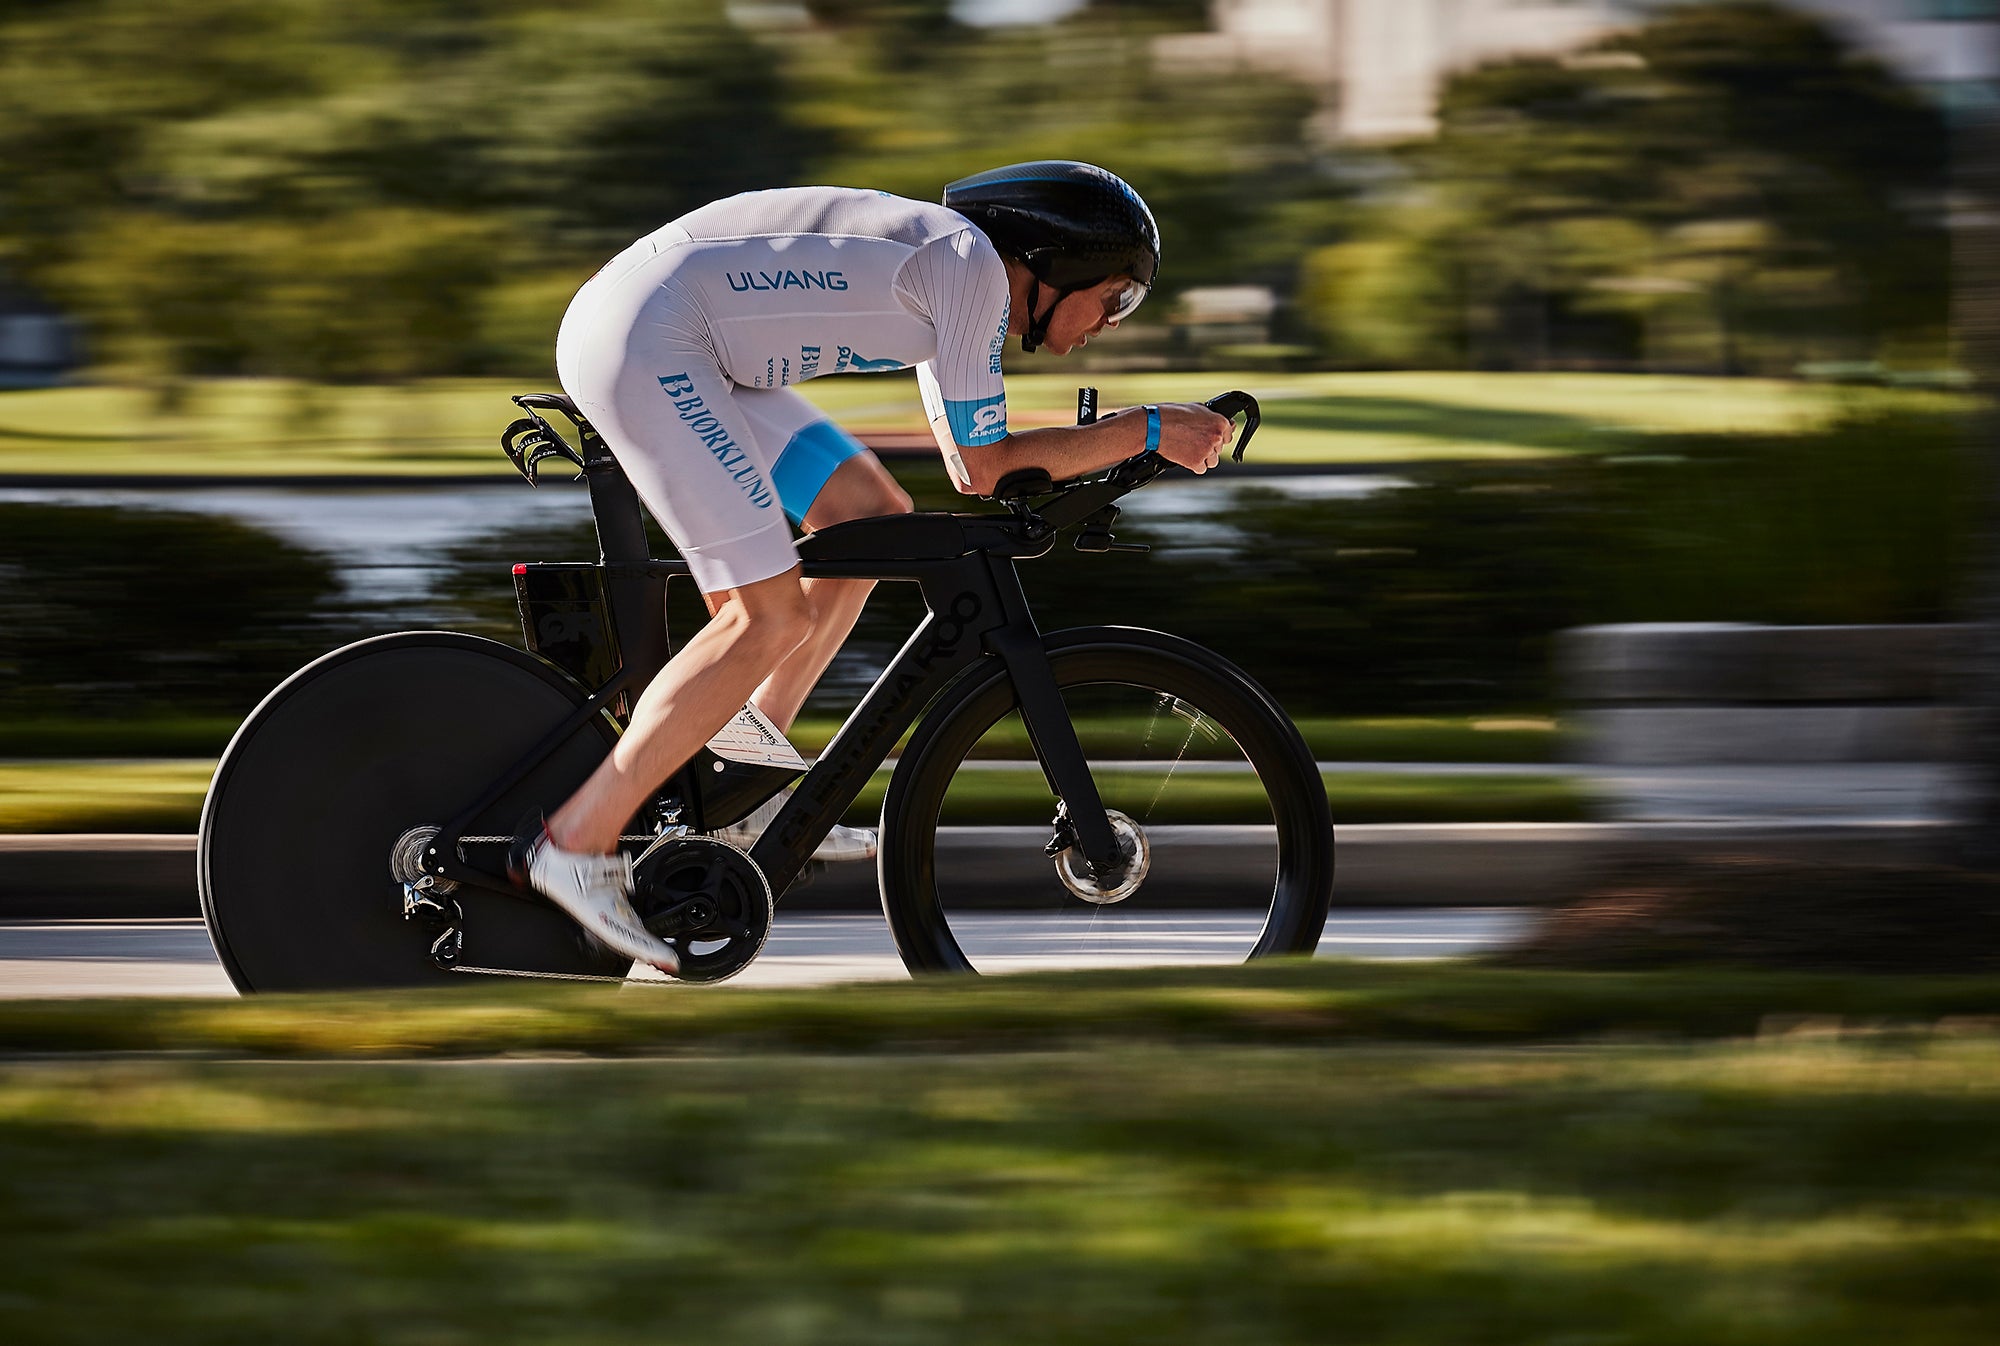
Article written by Allan Hovda, professional triathlete and three-time winner of Norseman Xtreme Triathlon — Allan is a Quintana Roo ambassador and is sponsored by QR's Norwegian retailer JBS Sport.
My bike is among the most valuable things I own, especially in my triathlon races. It must arrive at to races in full working order, especially when traveling by plane — I have witnessed a number of unlucky triathletes arriving at races with a missing or damaged bike. Below are my top tips for traveling with your bike.
1. Planning
There are huge differences in bike fees between airlines. Some allow you take your bike with you for free if it is 23 kg (50 lbs) or less, some charge between $50 – 200 each way depending on distance, and others charge overweight for the whole case. Check the regulations before you book the plane ticket.
2. More Planning
Not having your bike arrive with you can lead to a very bad start to race weekend. It is not uncommon that bikes get “lost” during transportation, but you can reduce the likelihood and consequences of it happening. Having few connections with a minimal amount of time in between flights can help in making sure your bike arrives on time. Traveling to a race a day or two before gives you more time to find your bike in case it ends up getting lost.
When I traveled to Ironman Texas, I «lost» my bike in between connecting flights both to and from Norway. First, it was a bit bad luck, as we ran into mechanical issues on the first flight that delayed arrival by more than one hour. However, a shorter time window who have made me more resistant to «bad luck». A missing bike before a race can cause a huge amount of stress.
3. The Bike Case
There are multiple bike cases which work well, and even cardboard boxes will do the job with a relatively low probability of faults. Personally, I swear by a very sturdy hard case box. Too many times, I have observed airlines mishandling bicycle suitcases and athletes arriving at races with vital parts of the bike broken.
Getting a hard case box which is relatively light, about 12 kg (25 lbs) or less, helps get the total weight of your bike below 23 kg (50 lbs), which for some airlines is the maximum weight. My BikeBoxAlan bicycle suitcase has been with me on numerous flights since 2012 and is still without any damage.
4. Packing
From a time perspective, it is best to disassemble as few parts as possible on the bike. When I travel, I loosen the aerobars and take off the seat post & my pedals. While not necessary, I take off my back gear as well to be sure I don’t damage my derailleur hanger. When the bike is dissembled and securely strapped in the suitcase, I use a couple of microfiber towels that I put around the parts of the frame, usually the aerobars or the front fork, which help reduce the risk of damage.
I also try to keep my bicycle suitcase as light as possible, as it reduces the load it gets during transport. The only thing I pack in the suitcase with the bike is my aero helmet, empty bottle or similar high volume, low weight items. If I am traveling with only carry-on luggage, I also put my gels in the suitcase due to restrictions on liquids you can bring on board.
 Nearly ready to go.
 Few things are worse than scratching your beloved bike, with no one to blame but yourself. I have a small micro towel, which I use to put between parts that might rub against each other. I also have a more sturdy transition bag, which I put my helmet and glasses inside.

Putting some insulation between parts that might rub is recommended.

My bike fits inside the suitcase without removing the rear derailleur, but it is a close call. Since the gear hanger can be specific to each bike model, I go for the safe option and remove it and wrap it in bubble wrap. It takes less than one minute and leaves me with one less thing to worry about.

One time I got to a race and found that I was missing a tiny part that is used to fasten my seat to the seat post. I totally panicked, as it was not a part that could be found anywhere near the race site. Luckily I found it soon after, caught up in the drivetrain after having been shaken loose during the flight. After that happened, I started putting all of my small, but vital, parts together in a small plastic bag.
5. Get Technical
Triathletes are known for having notoriously low technical knowledge in regards to their bikes. Unfortunately for most of us, we don’t have our own bike mechanic and must rebuild our bike ourselves after arrival. It is vital to know how your bike is built and how to do relatively simple adjustments, like gear and brake adjustments. Often there are bike mechanics available at races, but I would consider them an emergency solution.
I admit that the so-called superbikes in triathlon, with their hidden cables, hidden brakes and custom-made stem solutions, are extra challenging to reassemble and repair. Too many times I have been working fanatically on my bike just before a race because I ran into a technical issue that I did not know how to solve. This is one of the main reasons why I choose to ride a QR PRsix Disc — reassembling the bike and making adjustments are made very simple, and can be done with a 3 and 4 mm Allen key (the SRAM Hydraulic brakes I have on my bike require a 25 Torx, as well).

My goal is to travel with everything I need but nothing more. A leatherman, a small torque kit, a folding ruler, a core valve remover, tire levers, a power lock and black & white electrical tape are always some of the items I bring. I also pack spare tubes, a valve extender, a CO2-inflator (without the CO2-canister when flying) and a few plastic strips.

This small tool-kit from Silca is great to have when traveling. Except for an 8mm Hex bit, which I need for my pedals, it has all of the necessary bits. Its got a versatile ratchet and measures torque.
6. Spare Parts
Obviously you cannot bring a ton of tools and spare parts when traveling by plane. Prioritize bringing things that will most likely need to be replaced, like spare tubes (or tire if running tubular), valve extenders and basic tools. If running a tubeless setup, I would bring spare sealant, rim tape and tubeless valves. Of course, the need for spare parts is dependent on the available bike shops in the area and the technical complexity of your bike.
7. Get Ready
Reassemble your bike and test it quickly after you arrive. If something goes wrong, you'll have as much time as you need to fix the problem to be sure your bike is race-ready.


