THE 4 MOST COMMON TRIATHLON BIKE MECHANICALS AND HOW TO AVOID THEM

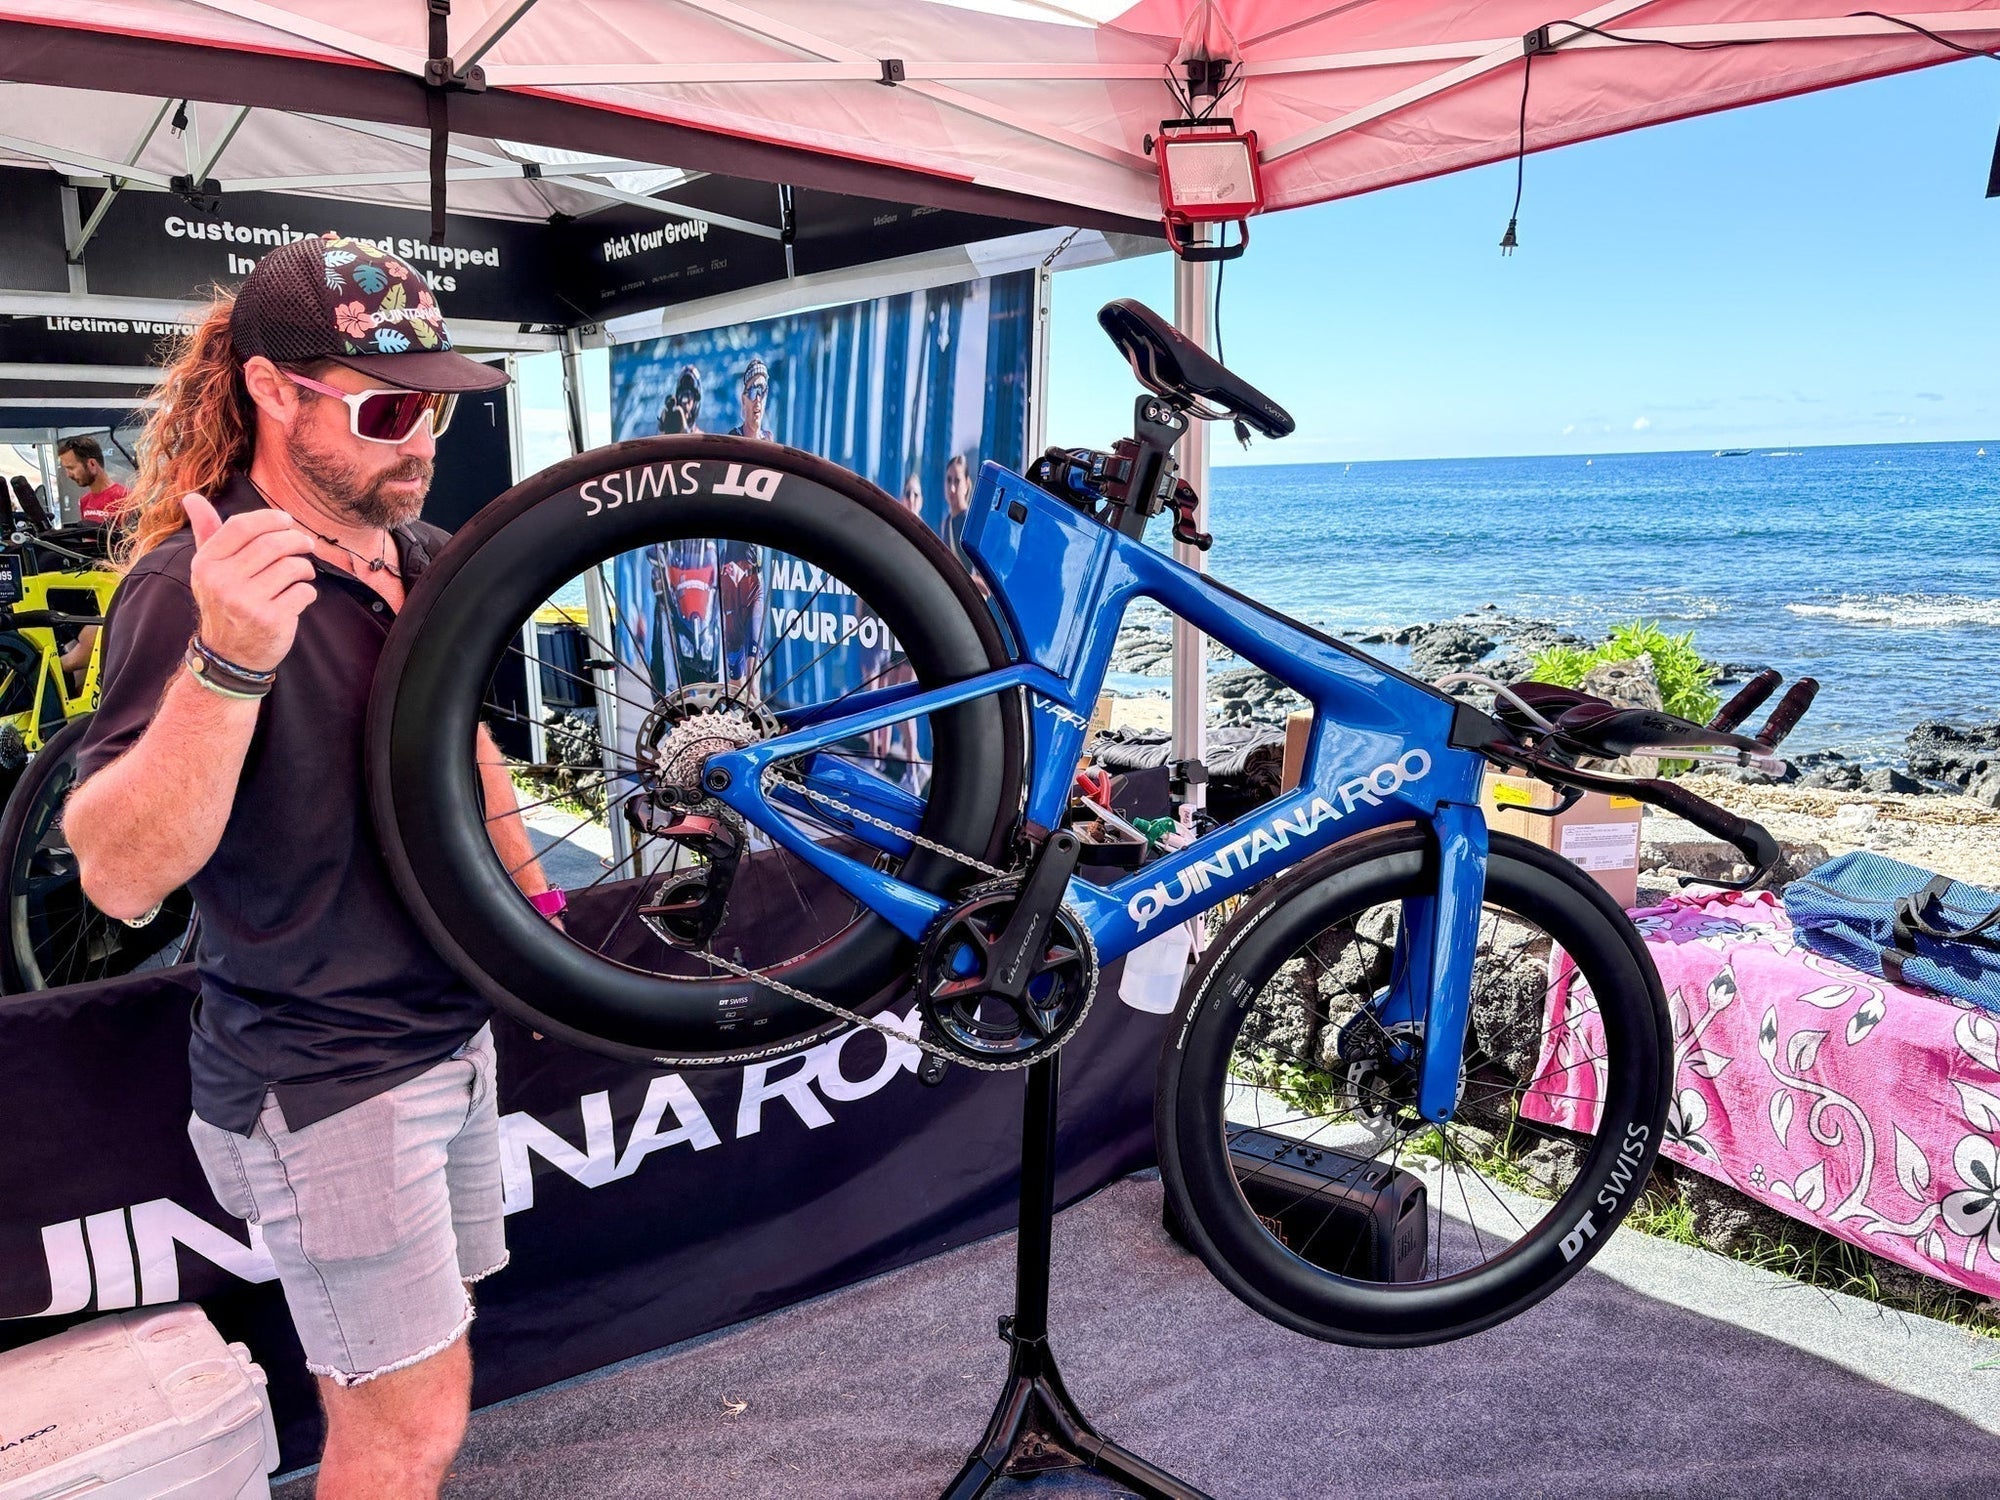
Our team of pro mechanics attends most major IRONMAN and Challenge Family events throughout North America and Europe to support our Pro and Factory Team Athletes. But we are also there to give every Quintana Roo rider FREE pre-race inspections, services, and emergency repairs. Your success is our success, so we always go out of our way to ensure your bike is dialed. It’s one of the great perks of riding a Quintana Roo!
While we love helping athletes fix their bikes, it’s always more fun and less stressful to come into race day problem-free! After wrenching on countless bikes, we’ve seen many of the same mechanical issues crop up time after time. Today, we’ll cover the 4 most common bike mechanicals we see at triathlons and how you can avoid them. Follow these tips, and you’ll increase your chances of success at your next event!
1. Flat Tires

Key points:
-
Know how to fix a flat
-
Bring essential tools and spares
-
Race on new-ish tires
-
Check your tubeless tape and sealant
Flat tires are easily the most common mechanical issue we see, and we fix dozens upon dozens of flat tires every race weekend. Here is what you need to know to keep a flat from deflating your race ambitions…
Know how to fix a flat tire
Half of the people coming to the Quintana Roo booth with a flat tire are coming to us for help because they don’t actually know how to fix or repair a flat! We’re happy to make life easy for Quintana Roo athletes by fixing flats for them, but if your flat happens during the race, then you need to know how to fix it yourself!
Knowing how to remove and install a tube is an essential skill that every triathlete should be familiar with:
If you have tubeless tires, then it’s a good idea to know how to plug a tire because it's much faster and easier:
Bring tools and spares
Many athletes come to our booth because they didn’t bring a way to fix their flat! I always travel with a basic flat kit that is pretty easy to toss into your car, bike bag, bike shipping box, or luggage:
-
A spare inner tube (or two)
-
A tire lever
-
Tire plugs
-
Spare tubeless tape
-
Small bottle of tubeless sealant
-
Small pump or inflation device
If you don’t use tubeless tires, then you can just travel with tubes, tire levers, and a pump. If you want to be ready for anything, maybe toss a new tire in your kit too, just in case you cut a sidewall or experience some sort of catastrophic tire failure.
DEFINITELY bring some sort of inflation device. It’s shocking how many athletes travel with no way to inflate their tires! We bring several floor pumps and are constantly loaning them out. A floor pump is too big to fly with, so I like bringing a small electric inflator with a built-in tire pressure gauge (I have the Silca Elettrico). You could also just use a compact hand pump and a small handheld tire pressure gauge.
Race on new-ish tires
We see a lot of riders flat simply because they’re racing on old, worn-out tires. If you’re spending the time and money to travel to a big race, then maximizing reliability with fresh tires is a worthwhile investment.

Tire wear indicator (left), flat spotting (right). Photos courtesy of biketiresdirect.com
How do you know if your tire is too old or too worn? Many high-end tires (like the popular Continental GP 5000 tires) have tread wear indicators molded into the rubber. If these aren’t visible anymore, your tread is worn and your tire should be replaced. If your tire has a visible flat spot down the middle, then replace it. Gashes and cuts in the tire rubber are normal, but if you inspect your tire and find a lot of large or deep cuts, especially near the sidewall, replace it. If your tires are a few years old, I’d replace them to be safe. If you see any cracking or signs of dry rot, definitely replace them.
You can also track mileage using an app like Strava. If a road tire is approaching 3,000 miles, it’s pretty darn old, and you should replace it before a big race! High-performance race tires are more fragile than training tires, so I often replace mine when they approach 2,000 miles just to be safe. Is this race the biggest race of your life? Then forget mileage and get new tires!
Check your tubeless tape and sealant
Swapping to new tires before a big race is a great idea, but we often see riders come to the QR booth with a flat right after swapping in a new tire. If they’re running a tubeless tire setup, it’s almost always due to damaged tubeless tape.
Removing a tubeless tire can sometimes tear or pull the tubeless tape away from the rim, compromising the airtight seal. Whenever you replace a tubeless tire, be sure to wipe off the inner channel of the rim and inspect the tape for any tears or areas where it isn’t sticking to the rim. If you find any, it’s a good idea to replace the tape to ensure you get a reliable seal.
Retaping a rim is an easy task, and I’ve retaped more than a few rims in the hours right before bike drop-off. But if you’re uncomfortable, any reputable bike shop can do this. Just be sure to schedule service well in advance of your event!
If you’re running tubeless tires, also remember to check, refresh, or top off your tubeless sealant before a big event. You can give your tire a spin or shake and listen for any sealant sloshing around. If you can hear it, your sealant levels are probably okay. If not, I’d inject another 30-60 mL of sealant. Or you can just pop off a tire bead and take a look. Ensuring your sealant is topped up could save your race if you puncture on course!
2. Poor Shifting

Key points:
-
9/10 times, it’s a bent derailleur hanger
-
Remove your rear derailleur from your bike when packing it
-
Put the derailleur somewhere safe, in a bubble wrap mailer or a towel.
-
Keep your drivetrain clean and well-lubed
-
Don’t ride on a worn chain
Poor shifting is the next most common issue athletes bring to our booth. There are countless reasons a bike might have shifting issues, from a derailleur that needs tuning to gummy cables and housing to worn-out drivetrain components. But 9 times out of 10, we discover that a bent derailleur hanger is the main cause.

The derailleur hanger is the interface between your bike frame and rear derailleur. It’s where your rear derailleur attaches to your bike. This replaceable component is easy to bend, but that’s a good thing because it helps prevent damage to your fancy carbon frame or expensive derailleur. Bent derailleur hangers are so common, I actually travel to races with a spare hanger in my bike bag.
Derailleur hangers often bend when a bike falls over (be careful leaning your bike against things!), but at events, I usually see hangers that have been bent due to an impact or rough handling during transport. If you’re shipping or flying with your bike, we actually recommend removing your rear derailleur from your frame before packing your bike.
The derailleur acts like a big lever, and if weight gets put on it inside your bike bag or box, your hanger will bend. Unscrewing the rear derailleur from the hanger prevents this. Wrap the derailleur up in some sort of protective material, like bubble wrap or a towel, and secure it somewhere safe, either to your frame with zip ties or elsewhere in your bike bag or box. I also remove my chain, but if you’re clever with your packing, you can leave the chain and shift cables attached.
There have also been a few instances where athletes have shifting issues, and we discover extreme wear on the chain and cassette cogs. Unfortunately, we can’t help much in these circumstances, because fixing the issue would require new drivetrain components!
To prevent this, remember to keep your chain clean and lubricated to reduce wear. Check your chain often with a chain checker or chain wear indicator, and replace it once it’s stretched. Dirty, worn, and stretched chains will cause bad shifting and extreme wear on other drivetrain components.
3. Rubbing Disc Brakes or Bent Rotors

Key points:
-
Remove rotors from wheels when packing your bike
-
Put them somewhere safe, in a bubble wrap mailer or a towel.
-
Put a pad spacer between your brake pads
Disc brakes are amazing, but no one likes rubbing rotors. It’s annoying in the best case, and a huge waste of watts in the worst case. Sometimes, rotors rub because the disc brake caliper needs to be recentered or the pistons need to be pushed back into the caliper and reset. But 9 times out of 10, a disc brake rotor is rubbing because the rotor itself is bent. We straighten rotors using a rotor truing tool, but the best thing to do is to prevent your rotors from getting bent in the first place.
Just like bent derailleur hangers, the most common cause is an impact or rough handling during transport. If you’re shipping or flying with your bike, we recommend removing your brake rotors from your wheels before packing your bike to keep them from getting bent. Put them somewhere safe in your bike bag or box, ideally wrapped in some sort of protective material like bubble wrap or a towel.
Whenever you pack your bike without the wheels or rotors installed, always remember to put some sort of spacer between the brake pads. Spacers prevent your pads from moving out of position if your brake lever gets compressed without the rotor or wheel installed. This is another common reason for disc brake rub. If this happens, you’ll need to push the pads and pistons back into the caliper.
New bikes often get shipped with plastic disc brake pad spacers, which you can reuse for this purpose. You can also buy dedicated spacers, but I always just cut out a little square of (clean) cardboard and stick it between the brake pads. It works just as well, and it’s free!
4. Loose Bolts

Key points:
-
Own and travel with a small torque wrench
-
Do a full bolt check before races or when reassembling your bike
Have you ever seen an athlete’s cockpit fall off their bike during a race? I have, and it’s not pretty. Bolt checks are essential, but many athletes forget to give their bolts a once-over before a race. Loose bolts can cause annoying distractions, ruin your race, damage your bike, or even cause serious injury.
A full bolt check is one of the free services our mechanics provide at events, but it’s super easy to do yourself. The key bolts I always check on my bike or for athletes before events are:
-
All cockpit, handlebar, aerobar, and stem bolts
-
Seatpost binder and saddle rail clamp bolts
-
Bottle cage bolts
-
Derailleur mounting bolts
-
Wheel thru-axles
-
Disc brake caliper mounting bolts
-
Disc brake rotor bolts
-
Any top tube nutrition storage mounting bolts
If you’re traveling to an event with your bike in a bag or box, reassembly is the perfect time to do a full bolt check. You can hand-tighten some bolts with a basic set of hex wrenches, but I recommend every athlete own and travel with some form of torque wrench to ensure they torque bolts to the proper spec. This is especially important for carbon components, because excessive torque will damage the carbon.

Many compact adjustable torque wrenches from reputable brands like Park Tool, Feedback Sports, Prestacycle, and Silca will have the necessary bits and torque settings to handle every bolt on your bike. If you want to cheap out, then at least get a 5Nm torque key to check all of your cockpit bolts. Make sure everything is tight, and you’ll be ready to hammer it on the bike!


